Step 1
Start with a Flexa-enabled wallet
This is the first filter. You need a Flexa-enabled wallet. If the wallet is not using Flexa rails, you are not on the path this archive documents.
Field Guide
The first rule is simple: use a Flexa-enabled wallet. Flexa payments go directly from wallet to point of sale onchain. That is how crypto spending moves from theory to receipts.
Step 1
This is the first filter. You need a Flexa-enabled wallet. If the wallet is not using Flexa rails, you are not on the path this archive documents.
Step 2
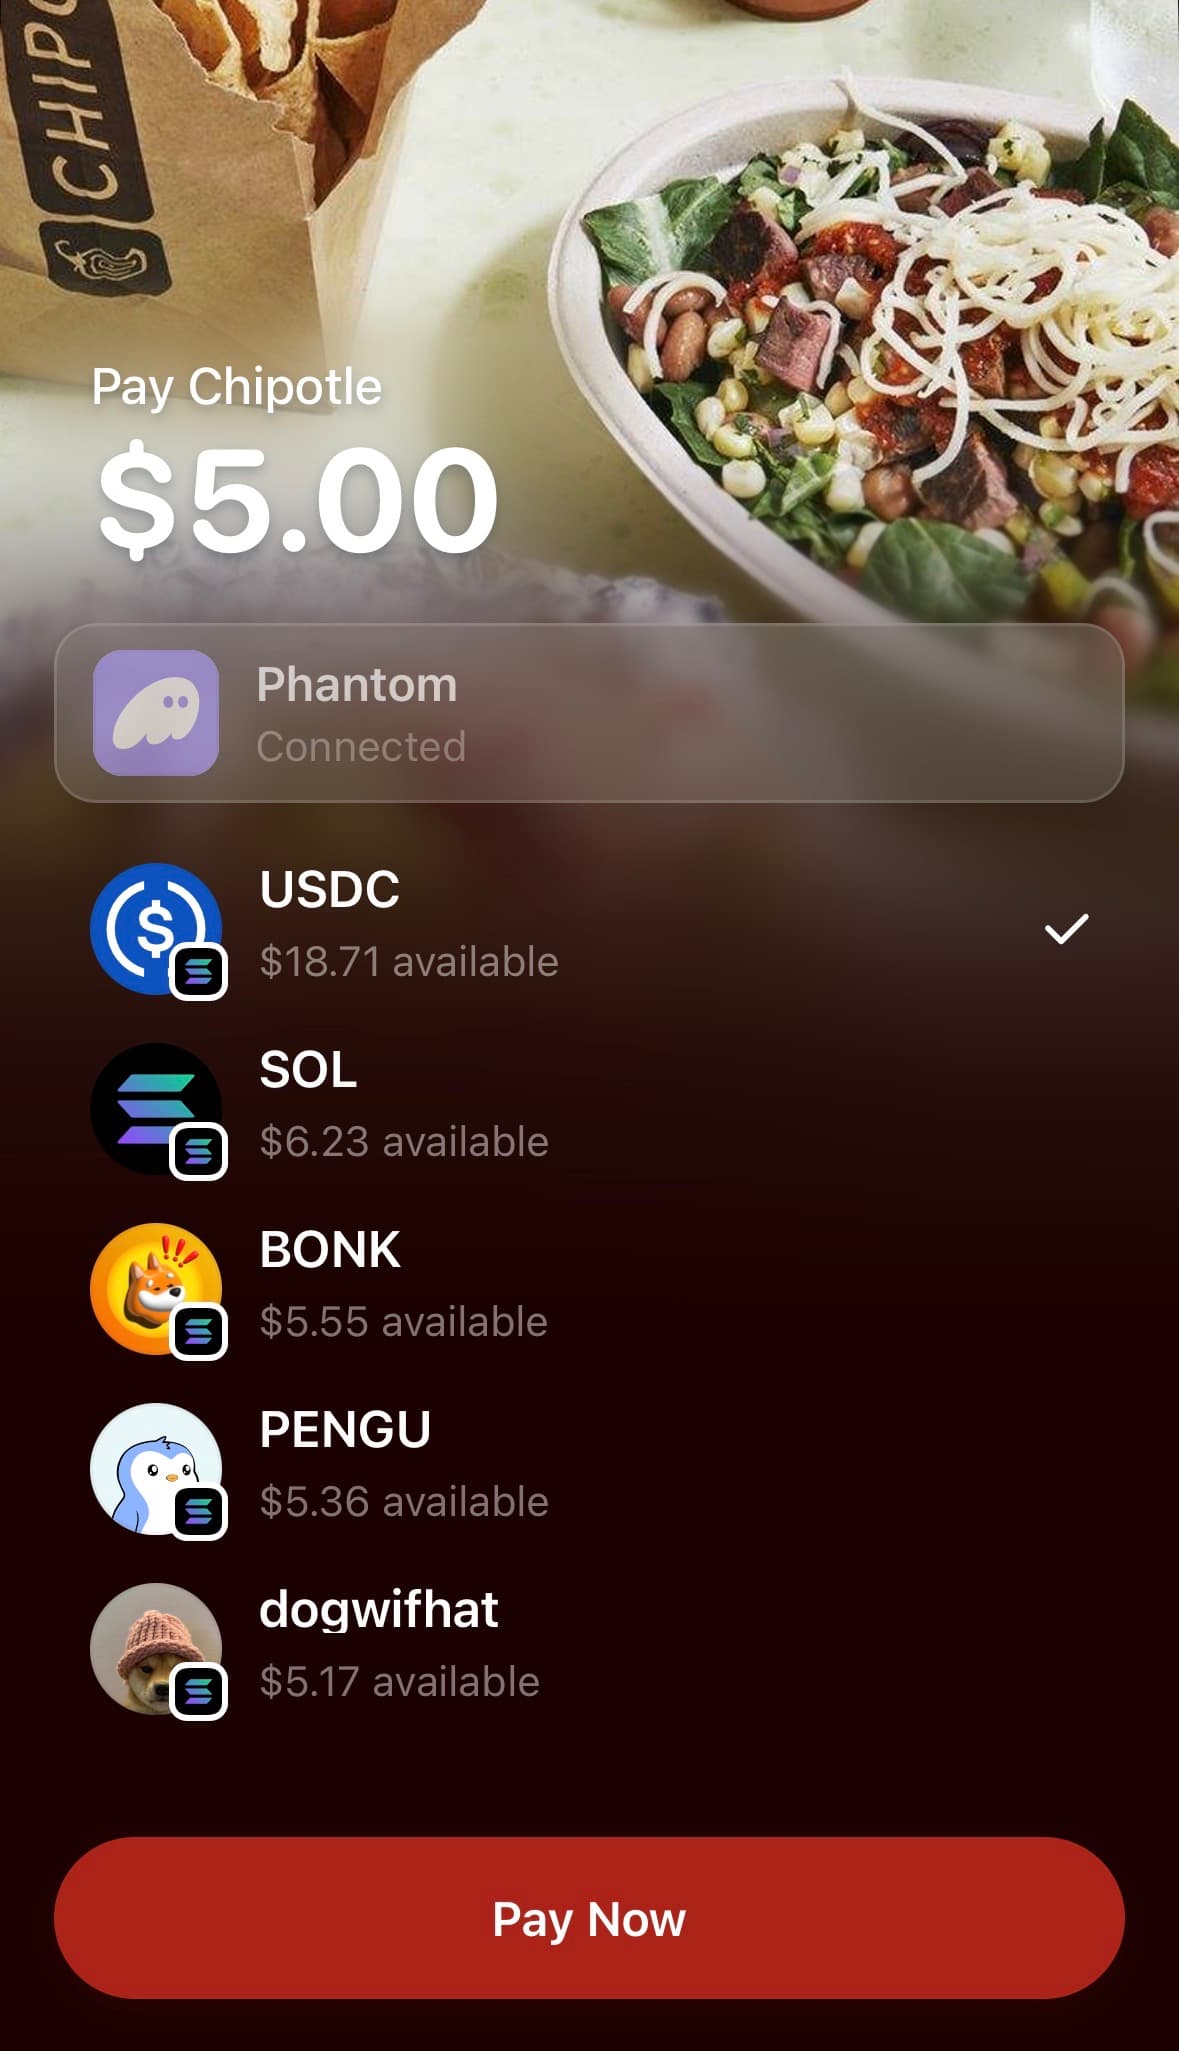
Start with a path that has already been documented. Pick a merchant you already like, see which wallet, asset, and chain people used there, and make your first spend feel possible.
Step 3
At checkout, the spender uses a supported digital asset in a Flexa-enabled wallet. The payment goes directly from wallet to point of sale onchain. After the payment, make sure the public post clearly shows what happened so other people can verify the spend.
Before You Try
First rule
Use A Flexa-Enabled Wallet
Flexa is direct digital asset payments from wallet to point of sale. Start with a Flexa-enabled wallet, then use the archive to narrow the exact path.
After the spend
If the payment happened and the source is public, file the proof so the next person does not have to guess.
Learn more about Flexa